NW7
OUR WORK PROCESS.
step by step
NW7
Information about the job
Landscaping requires some time to do as a garden can be a capricious thing to handle. But with our excellent gardeners no garden can be too much of a challenge. We know how to deliver when we are asked for a landscaping service, so here is what one of our latest projects entailed and how it was handled.
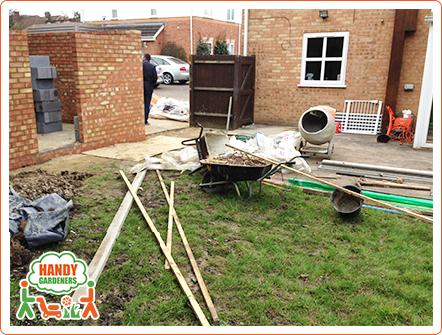
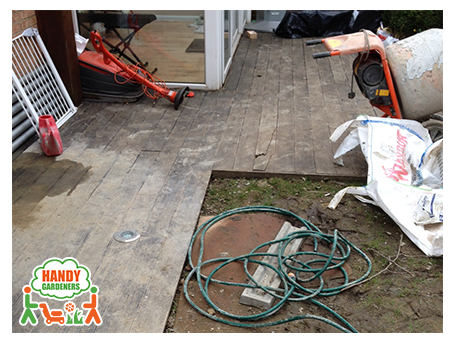
before
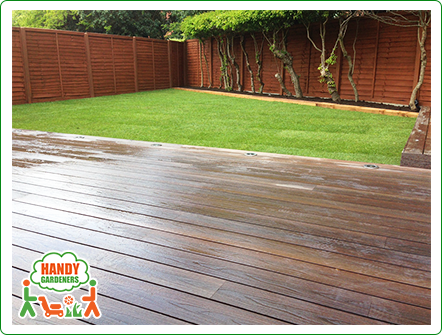
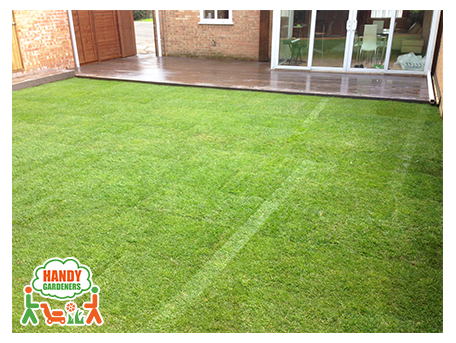
after
The customer call
The customer contacted us about a landscaping project and we immediately responded. We appointed a head landscaper and he was sent over to see the current situation and map out the project. After the visit, the gardener already had a plan for the job. The place was a complete mess, with rubbish all over, pipes sticking out, and the whole lawn a big ruin. But it was not that big of a challenge for us. A price estimate was given, but the full price will be based on the visits with the head landscaper.
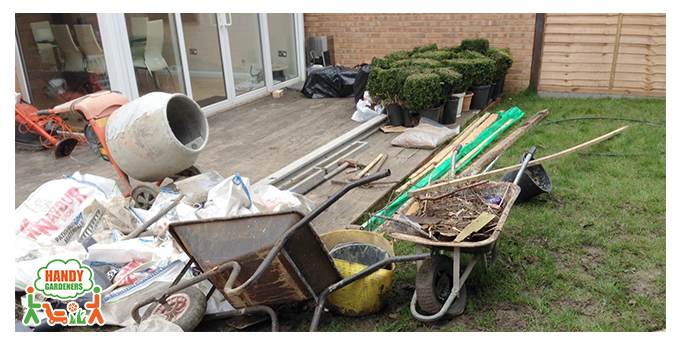
The plan
Our landscaper came up with several steps for the handling of this landscaping project. They would include:
-
Complete removal of decking, grass, and soil excess.
-
Provision of materials for the new grass, the framework, pipes, turf, sleepers.
-
Installation of all the materials in the proper order and with the right positioning.
-
Installation of new drainage system.
-
Installation of hedges, drain channels and slabs.
The Execution
Step 1. The Removal Job. - Our gardeners took care of the current state of the garden with a full garden clearance. The existing decking was removed, as well as the excess of soil under the decking and along the path and the house. The existing grass was also taken care of as it had no place in the landscaping project. With all the waste and rubbish cleared out, the garden was ready for the real work to begin.
Step 2. The basics - Our landscapers supplied timbre frame made from 4x2 pressure-treated timbre for composite decking, which was installed along the house and path. Then came a landscape fabric, installed under the new timbre frame, also along the house and path. The drainage system was a wreck, so trenches were dug out for a new one under the new turf. Perforated pipes and soak away crates were supplied and installed for a new drainage system. This garden will not have any problems with flooding.
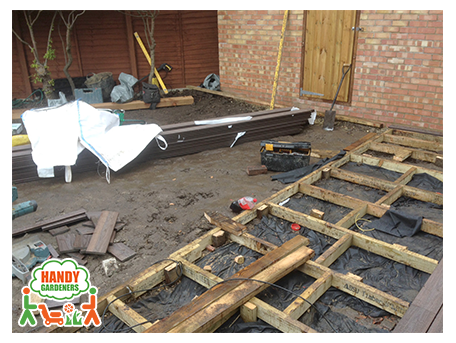
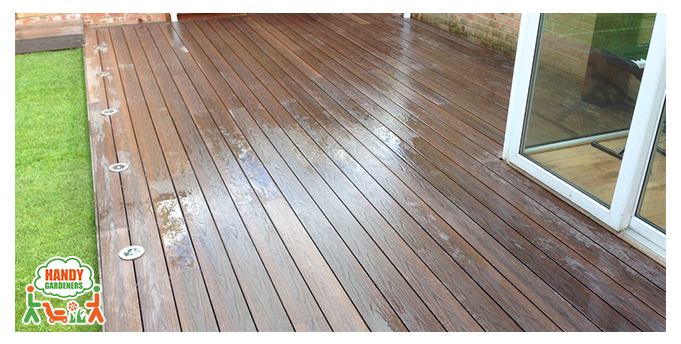
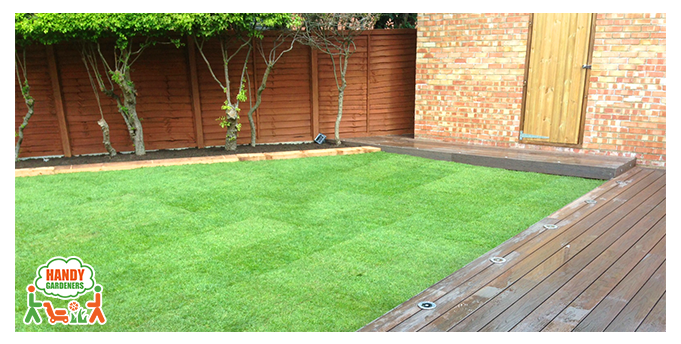
Step 3. The Shaping. - Composite Frontier range decking with a beautiful Iroko colour was supplied and installed along the house and path. Next came the turf. We chose a good quality type of turf that could hold its moisture without becoming a problem and it was installed in the place of the old one. Garden sleepers came next and they were strategically placed along the hedges. A new fence was installed and it will be painted later, with the colour chosen by the customer.
Step 4. The Garden - It was time to work on the garden and our professionals brought proper fertile soil and filled the garden along with the front raised beds. We took care to install hex drain channels near the fence to take care of extra flooding possibilities. The garden was further decorated with natural stone slabs, placed near the gate. We provided the customer with new topsoil, fertiliser, and added a compost to the back garden flower bed. Now the gardening will be completely in the customer’s hands.

Step 5. The Aesthetics and Finishing Touches. - And it was time to end the essential work with the last touches. The front raised beds were painted with a colour chosen by the customer. We provided pea shingles and laid them at the house line. More paint was supplied and we used it on the garage walls, matching the raised beds at the front of the garden.
Step 6. The Cleanup. – And with the latter all the work was done. All we needed to do was remove all our tools and leftovers. We handled the garden clearance with ease and then finished it all up with a pressure cleaning of the front driveway. We also watered the garden to see if the drainage system works. With this all traces of us were erased and all that was left was a brand new garden space which pleased the customer.

Some Advice for the Customer:
Before our departure, we provided the customer with simple advice to make sure that the new state of the garden will not be inadvertently compromised:
-
The lawn should be mowed only once it has rooted – you can easily check this by lifting a corner of the turf to see whether the grass has reached the soil.
-
Fertiliser has been supplied, so no feeding will be required for the next few weeks.
-
Naturally, frequent lawn mowing and watering after all has been set and planted is necessary to keep the garden in top shape.
Landscaping
starting from £96
- 100,000+ London Gardens Transformed
- 11+ Years of Proven Gardening Experience
- Trained, Vetted & Fully Insured Gardeners
- 4.8 Rating from 181+ Verified Google Reviews


 Get a Quote