How to Plant Flowering Bulbs
Posted on 24/06/2020
Tips for Planting and Caring for Your Favorite Bulbs

You love gardening but don’t know how to plant flowering bulbs? This guide tells you everything you need to know about planting bulbs correctly. Incorrectly planted bulbs and maintenance of the bulbs may result in them not sprouting or flowering.
What you will need to plant your bulbs:
• More flowering bulbs than you may need.
• Trowel, spade or any other gardening tool you use to plant bulbs
• A suitable fertiliser for your bulbs
• Mulch for the winter months
• Water and a watering can or hose. 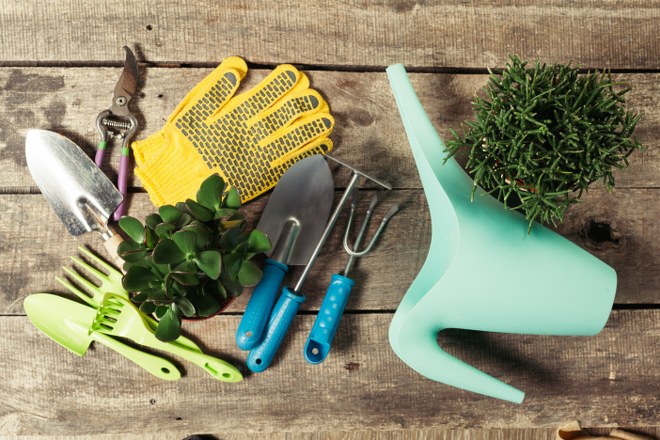
Planting and Maintaining your bulbs:
• When you decide to plant your bulbs check the temperature of the soil, it should ideally be below 15 degrees, the autumn season would most likely be the ideal time. Professional gardeners recommend that you plant the bulbs in October.
• Use as many bulbs as you can, whilst always ensuring you give them enough space to grow, always check the supplier’s recommendations on spacing between bulbs. Rather than placing the bulbs in straight line and being regimented in where you plant them, try grabbing a handful, throwing them and planting them where they land, this will give a more natural look to the resulting floral display. 
• Perhaps lay more than one flower species in the bed. This will make your garden maintenance efforts more efficient.
• Consider how much exposure the bulbs will get to the sun, most bulbs grow best if they are planted in a position where they get the full sun throughout the summer season. Most bulbs require at least 6 hours sunlight a day and grow best in well-drained soil. It is always best to check on the packaging of your bulbs, however, in case your specific bulb requires full or partial shade.
• Plant bulbs should be planted at a depth that is three to four times their height. Dig individual holes or if you are planting a number of bulbs, one big hole and place the bulbs in the hole with their roots or basal plate pointing down. Fill the hole back in with soil and press the soil down.
• Ensure you use a suitable and dry fertiliser on the bulbs to help them to grow. Ensure the fertiliser is of a good quality and is low in nitrogen. Sprinkle the fertiliser on top of the soil after you have planted the bulb. Do not place it directly on the roots or the bulb as it could burn through them. After this you will not need to fertilise again until the shoots have started to come through the ground in the spring season. Thereafter you will need to fertilise annually, preferably every autumn; the amount and type of fertiliser that is suitable may vary so you will need to check on the packaging of the plant bulbs or with your local gardener.
• To settle the soil water the soil and the planted bulbs thoroughly.
• You can cover the area of your planted bulbs with thick organic mulch which will improve the quality of the soil and help keep weeds at bay. This will help make garden care easier and less time-consuming.
• Consider adding insect and rodent repellent as it is common problem for newly planted bulbs to get eaten by things like mice. You could even add extra protection in the form of a plastic or mesh covering/chicken wire, or add some sharp gravel of the recently filled up hole. Do your gardening chores on time and enjoy your garden flowers.
• If frost settles in, add mulch to the top of the soil to prevent the bulbs being pushed up and out of the ground. 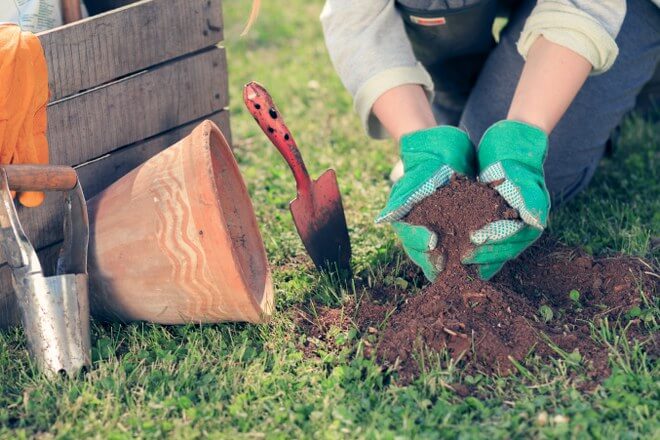
• Once the flowers have finished blooming in spring, remove the flowers but leave all the leaves and foliage until it turns brown or yellow, then pull it out of the bulb. If you remove the leaves and foliage too early the bulb may not produce as many the following year.
Follow these tips on planting bulbs and garden maintenance and enjoy the floral display!


Latest Posts
Easy Ways to Freshen Up Your Patio and Paving for Summer
Unique Autumn Garden Inspiration: Planting with the Season in Mind
Quick and Effective Ways to Sharpen Your Garden Shears at Home
Easy Ways to Keep Your Artificial Turf Looking Brand New
Elevate Tranquility With These Zen Garden Planting Inspirations



 Certified and experienced landscapers


 Get a Quote