OUR WORK PROCESS.
step by step
SE1
Waterloo | landscaping
Information about the job
Whether you enjoy your outdoor space to be filled with green grass or you prefer a more urban, paved and low maintenance area where to socialize, we are the right professionals for you. There is no project too small or too large for us and our latest landscaping project is a proof for that.
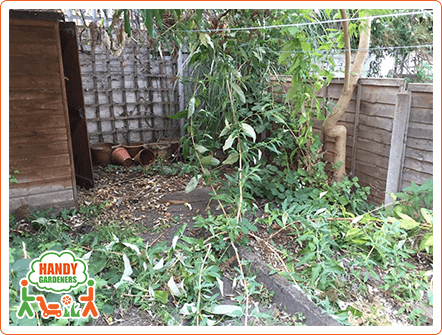
before
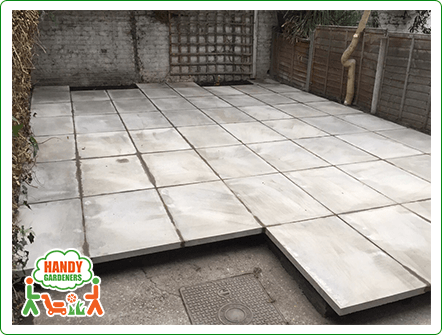
after
The customer call and preparation
A family from Waterloo, London contacted us with a request to transform their garden. They had some ideas but were also willing to take into consideration our professional advice. Therefore, we sent our head landscaper for a viewing and expert opinion on what can be done so the garden could be transformed into an outdoor oasis.
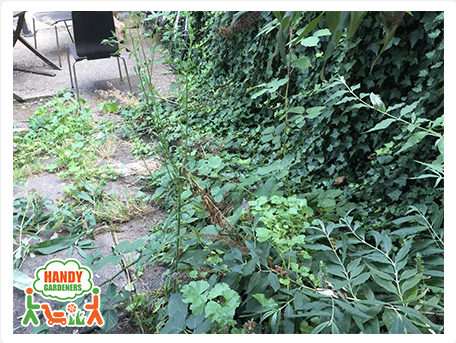
So this was the garden before our seasoned specialists took care of it:
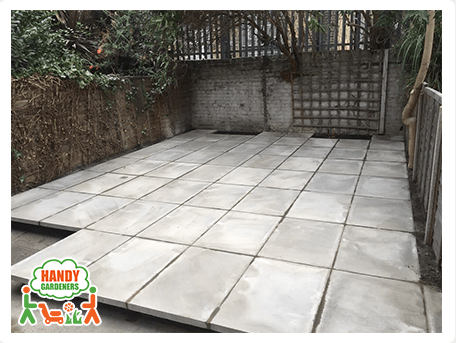
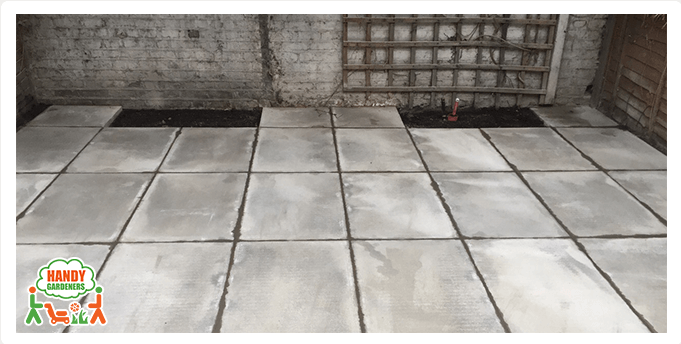
And this is how it was transformed after our final touches:
Summary of the job we've done:
The landscaping crew we sent out to the address in the London area of Waterloo was able to transform this outdoor area in just two days time. In order to meet all of the customer’s requirements our professionals jet washed 30 square meters of an area, leveled 36 square meters, created two level patio area with a sand and pebbles base, disassembled an old shed, replacing its concrete base and paving a total of 46 square meters. Here is how we did it:
Step 1. The viewing of a given project is the first and essential step in the landscape transformation process. The landscaper met with the client and discussed what they had in mind, the ideas they had and took note of what the terrain had in store for them.
Step 2. The estimation is what comes next. After the viewing, conversations, measurements taking and observations our landscape architects designed a plan for the job execution, created a list with materials needed to be purchased and the clients were quoted a price they had agreed with. Hence the job was confirmed and the materials’ selection process was completed, so we were ready for performing the job.
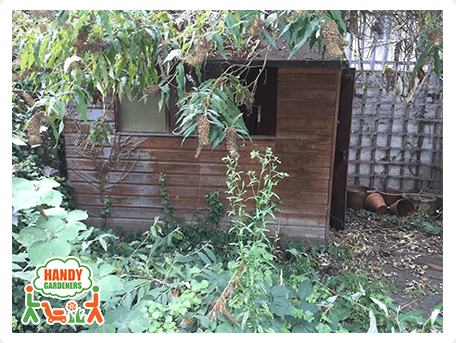
Step 3.Main jobs done in the garden
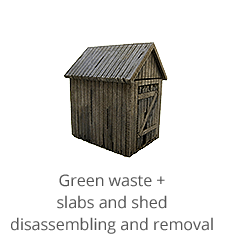
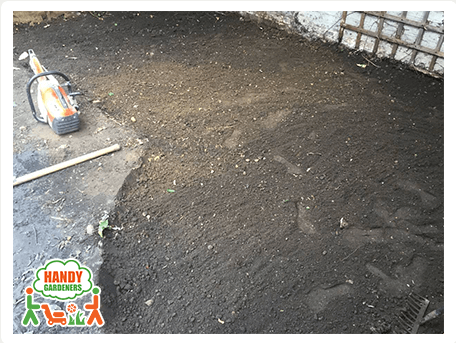
Step 4. Clearing the area was the first thing our crew had to begin with. First and foremost there were a lot of overgrown plants, weeds and greenery that needed to be cut back and removed. The old shed had to be taken apart as it no longer served a purpose. The ground needed to be cleared from the old paving and concrete, so they were broken apart and removed too.
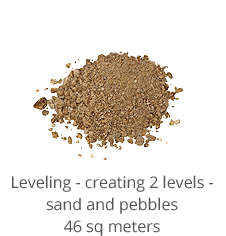
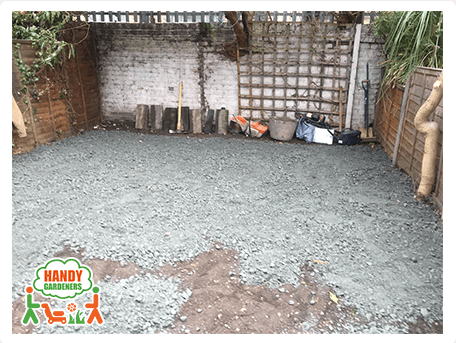
Step 5. Leveling the area was the next step of the landscaping process. After the ground was cleared, the entire area was smoothened out, so a proper foundation for the laying of the paving was created. The leveling process itself consisted of creating two levels. The first layer was the sand base, followed by leveling pebbles. These two layers created the level area for the paving foundation.
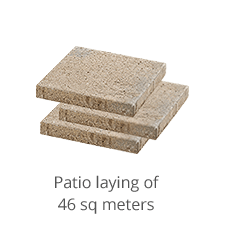
Step 6. The new look was about to be pieced together. As illustrated first the mixture of sand and pebbles were laid onto the smooth ground. Following that the first level was cemented and it was again leveled. On top of the cement base were placed the cut patio tiles thus creating the second level. The gaps between the tiles were filled and it was all left to dry and harden solid.
Step 7. Jet washing was performed after the paving was harden and the London family could enjoy their newly laid paving and a completely renovated garden.
The Final Look
Landscaping
starting from £96


 Get a Quote